
|
|
Go to Overview >>
|
Contents
- Preparation documents
- General
- Starting
- Transmitting the first frame
- Receiving a frame
- "Winning the game"
|
|
General
|
|
Visual P3 is an emulation program for learning the Point to Point Protocol (PPP). PPP is used for establishing a connection
between two Peers and encapsulates the data, e.g. IP-packages. Because the PPP operates on the
level just above the physical, the input to Visual P3 will be in hexadecimal numbers.
A good knowledge of the PPP is essential for understanding the connection procedure.
Please look at the preparation documents prior to starting the program.
|
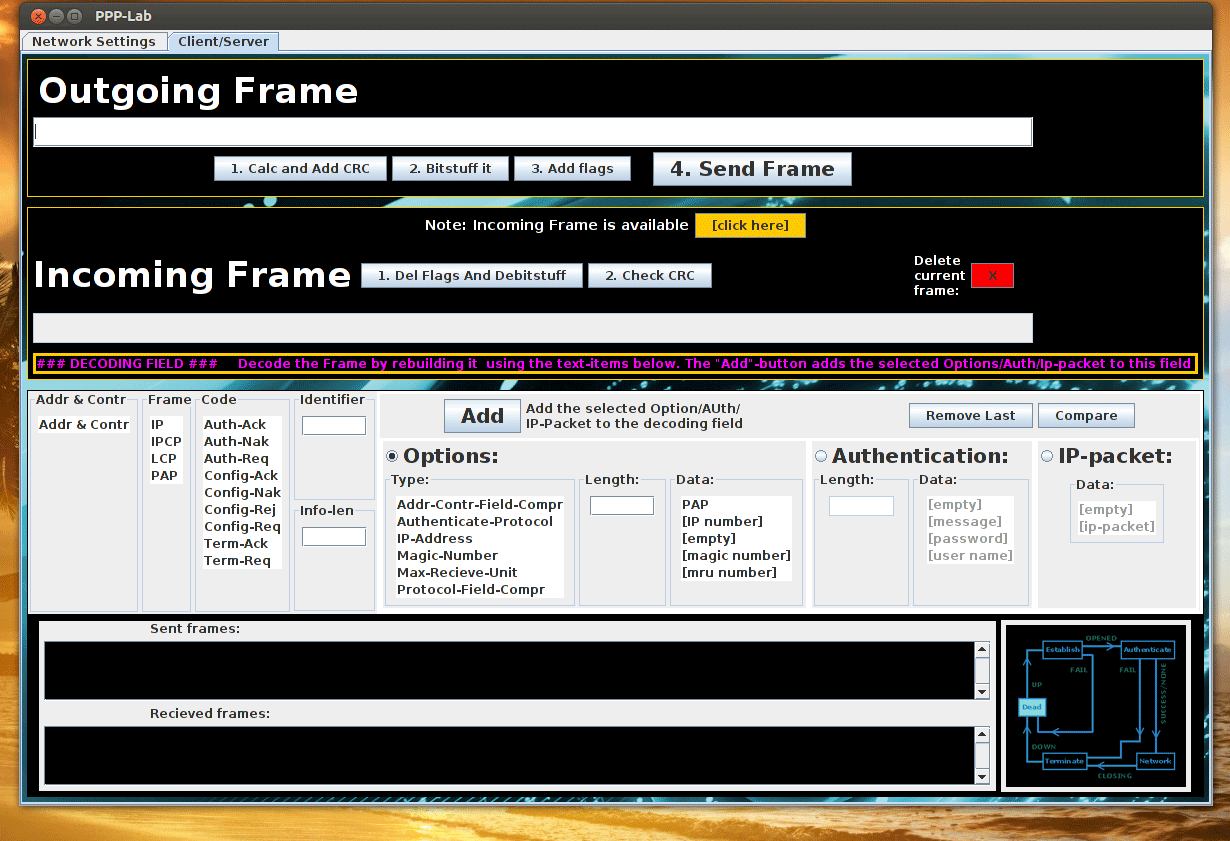
Figure 1. Visual P3 interface used in the lab.
|
|
Starting
|
|
The computer where you want to run Visual P3 must be connected to another computer
through the LAN.
In addition, the Peer must have its own copy of Visual P3 running.
|
|
Transmitting the first frame
|
When you have chosen the options, you can start assembling your first frame in the Outgoing frame field, see Figure 2.
Notice that all parts should be included, from left to right:
flag, address, control, protocol, information, crc and flag. You get help in calculating and adding the crc by pressing the Calc and Add CRC-button, see Figure 2.
Doing bitstuffing and adding flags are done by hitting the Bitstuff and Add flags , see Figure 2. When you are ready
to send the frame to the Peer, press the Send Frame-button, see Figure 2.
The frame should contain the correct information to move the state graph from Dead state
to Establish state, see Figure 3.
You should follow the steps below to transmit a correct frame.
1. Fill the text box field with frame data.
2. Press the buttons in following order: "Calc and Add CRC", "Bitstuff it", "Add flags".
3. Then press "Send frame" to send it to the Peer.
|

Figure 2. Enter a complete frame and add CRC, bitstuff and flags to it.
Press "Send Frame" when done.
|
|
The only way to proceed in the state graph, is by sending and receiving the correct frames,
according to the graph arrows.
If you notice a corrupt frame or a frame that is sent out of order etc., you are bound to throw it
away by pressing the Discard Frame-button, see Figure 4.
|
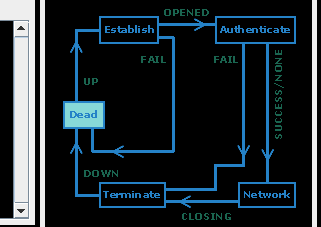
Figure 3. State graph highlighting Dead state.
The next state is Establish.
|
|
Receiving a frame
|
|
When there's an incoming frame in the queue, a text will appear next to the yellow button and notify you.
If you click on the yellow button, the frame will be visible in the Incoming Frame field. Next click on the buttons "delete flags and debitstuff" and "check crc",
after that it is ready to be verified by you. To verify the frame, select the appropriate list items below the decoding text boxes, see Figure 5.
Verify it by pressing the Compare-button, see Figure 5. If it is OK, the piece of code is removed
from the frame and you can continue with the next.
|
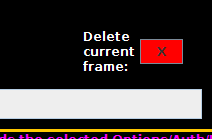
Figure 4. "Delete" deletes the current incoming frame.
|
If you didn't succeed, perhaps you simply picked the wrong list item in one of the lists, or it has some wrong items.
There should be text to explain what went wrong, otherwise you can ask the nice lab leaders.
It is also possible that your only option is to delete it. Then click the delete-button.
By pressing the delete-button, all that's registered is a copy of the frame in the "Received Frames"-field.
|
Figure 5. The received frame must be verified.
|
|
"Winning the game"
|
|
When you and the Peer have managed to return back to Dead state, try to discuss what happened by looking at the log
fields "Sent Frames" and "Received Frames".
When reaching Dead state you should have a firm grasp of what PPP is all about.
|